The Menu Configurator
This is the final step before launching your solution. It basically offers you the ability to adjust each section of your solution according to roles and allows you to arrange, rename, and control what each user will be able to access.
Here, select the platform and roles you want to modify and the list of your available sidebar menu items or tab bar menu items will appear.
Solutions: This can be either a WEB portal or an APP.
Roles: Director, Accountant, Employee, Manager
Web solution
Once you have selected a WEB portal, you will need to choose the roles you want to manage.

The list of apps you have already installed on the sidebar menu of your WEB solution will appear below. If it’s your first time here, this will be empty and you’ll need to start by installing items.
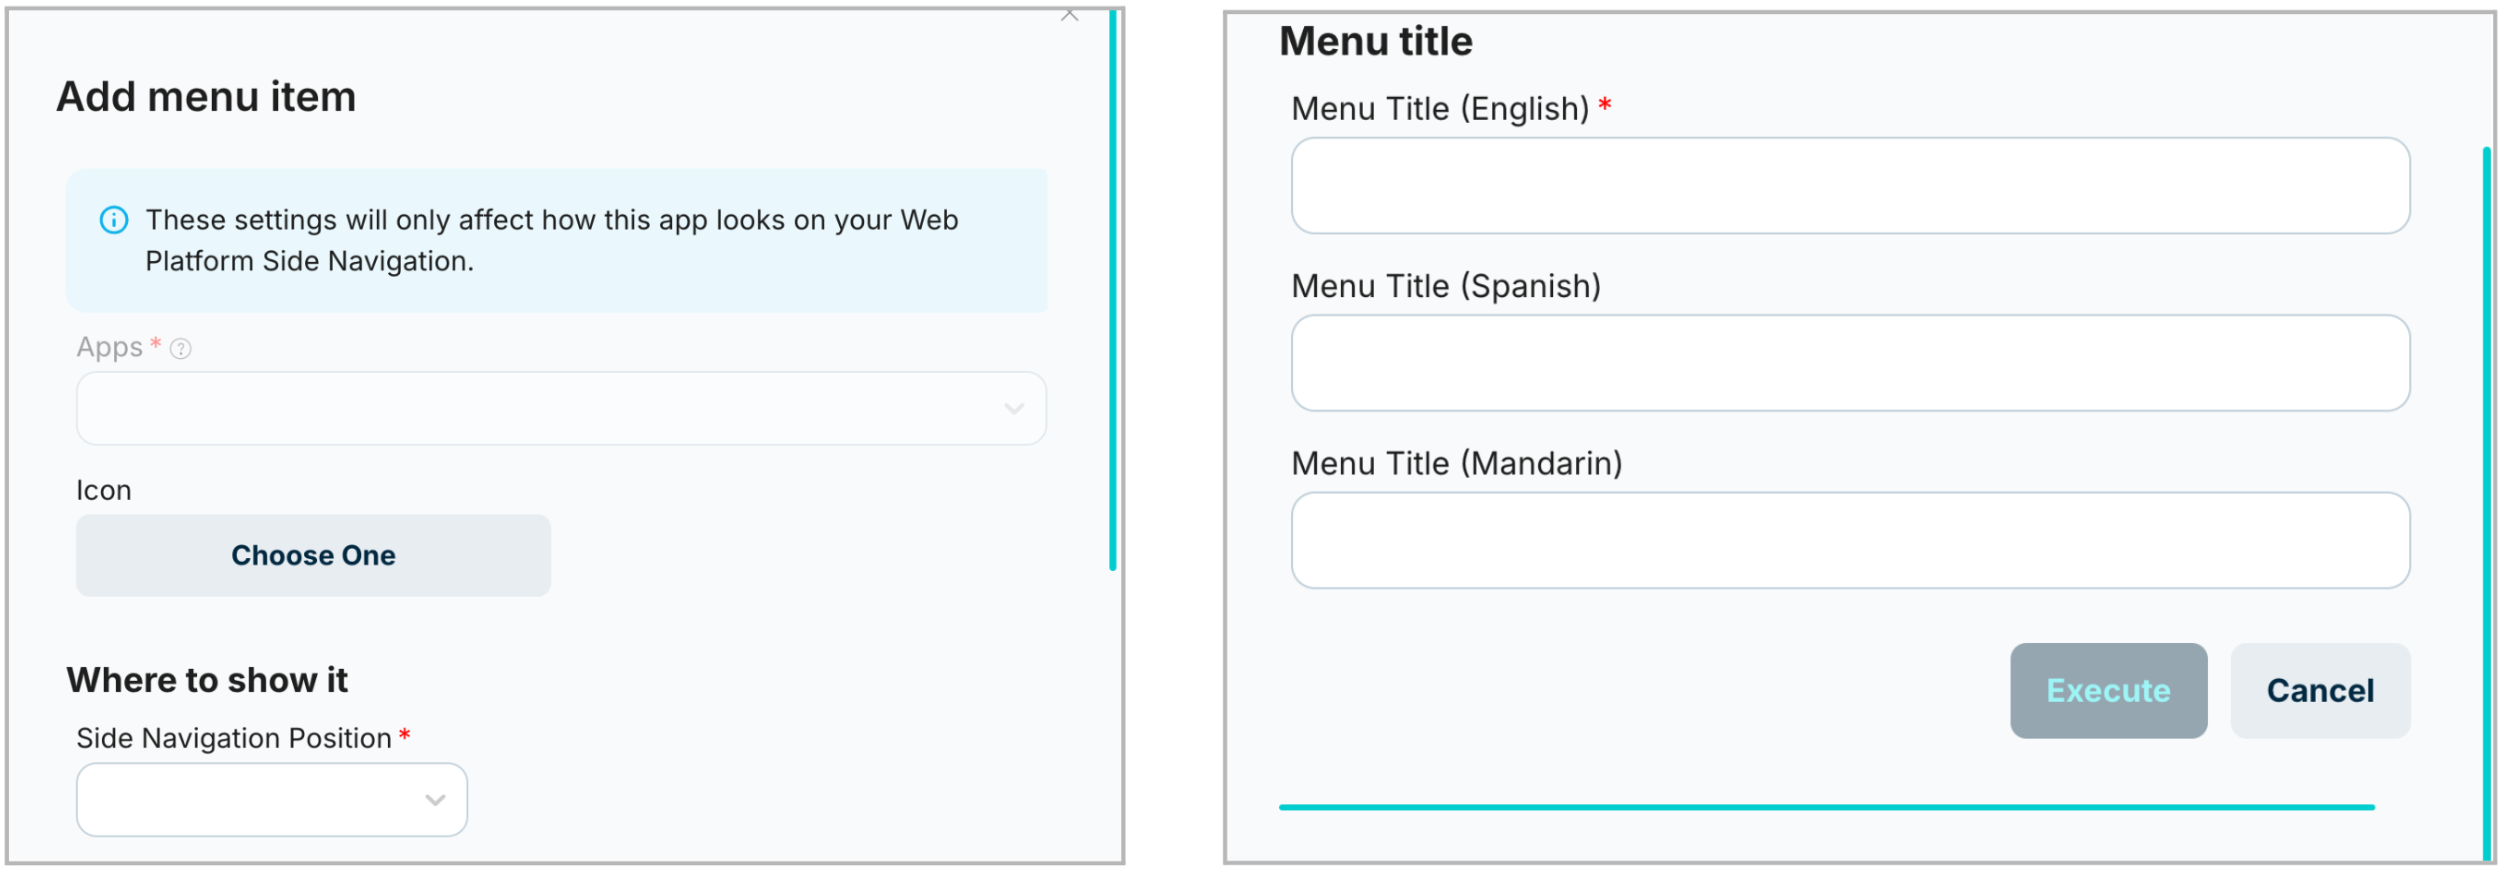
If you want to add an app to your solution, select “Add Item”. A window will pop up where you need to fill out details on your app (the * indicates mandatory fields).

Apps
Select the app you want to show in the sidebar menu of your WEB financial solution. In order to see an application here, it needs to be installed.
Icon
Selecting the “Choose one” button under Icon allows you to pick an icon to associate with your app.
Position
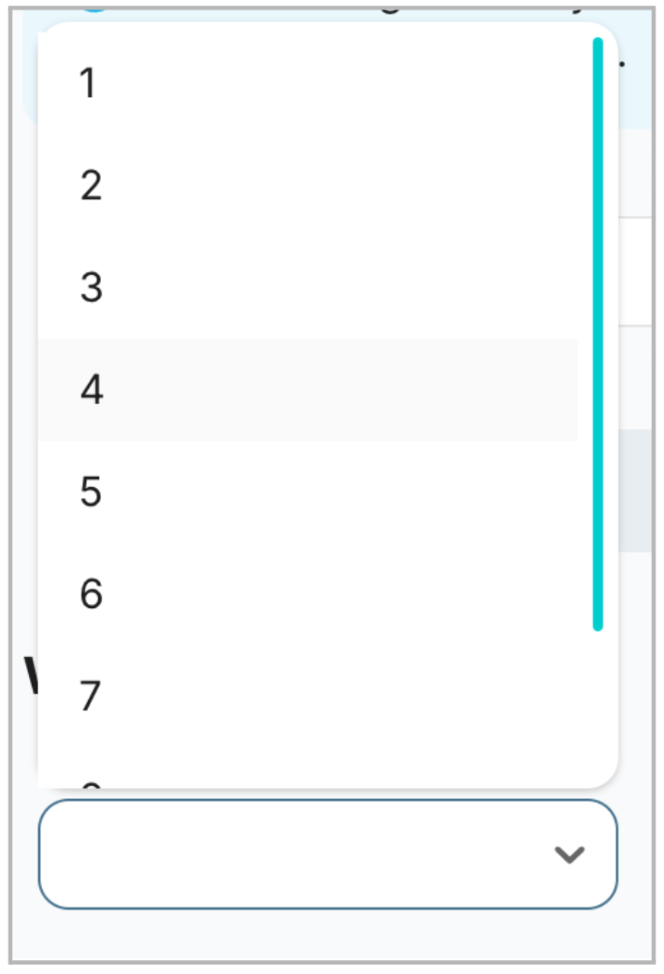
In the associated drop-down list you’ll see as many menu positions as there are apps that you have installed for that role, adding one more position for the new app you are installing. If you select a position that is already in use, all the apps will be moved down one position.

Title
Add the title in English (this is mandatory). You can also include a title in Spanish and/or Mandarin. This title is what will appear on the sidebar menu of your WEB solution.
When the app has been added to the menu, you should encounter the following message:

App solution
Once you have selected an APP solution, you will need to choose the roles you want to manage.

Then the list of applications you have already installed on the sidebar menu and on the tab bar menu of your APP solution should appear. If it’s your first time here, you’ll need to install items first.
From here you can add apps you want to show on the sidebar menu by selecting “Add item” when you are on the “Sidebar Menu” tab. Follow the same process that we have already explained for the WEB solution.

If you want to show an app in the tab bar menu, just switch to the “Tab Bar Menu” tab and select “Add item” there.

When you select “Add Item”, a window will pop up where you need to fill out the appropriate details (the * indicates mandatory fields).
App
Just like the WEB solution, you can select the app you want to show in the sidebar menu of an APP solution. In order to see an app here, it needs to be installed.
Icon
Same as the WEB solution, select the button and choose an icon to represent your app.
Where to show it
If you want to have the application on the tab bar menu, you must have the app on the sidebar menu as well. This is why you need to choose the position in both places. If you already have the application on the sidebar menu, the same position will appear here, pre-selected.
Title
Add the title in English (this is mandatory). You can also include a title in Spanish and/or Mandarin. This title is what will appear on the sidebar menu of your APP solution.
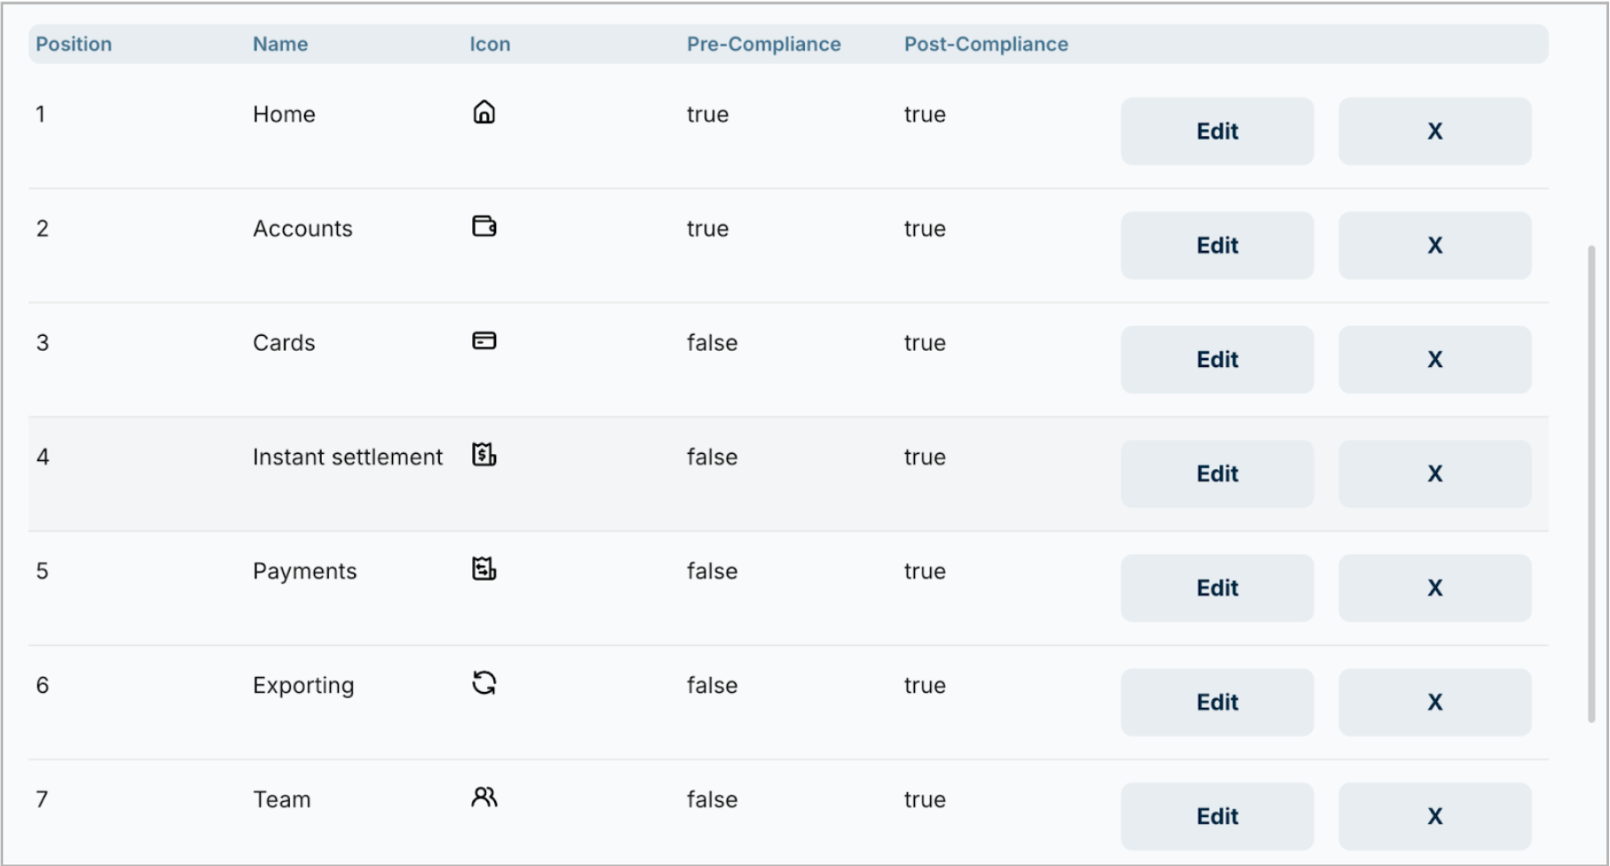
When you have added all the apps you want to show in the WEB or APP solution, the following table will appear showing you the apps you have added, the positions they have in menus, the icon selected for each, and two columns that summarize when the app is displayed in relation to the end-user compliance process (before or after the compliance process).
You’ll also have two buttons for each app so you can easily Edit or remove that app from your sidebar menu by selecting the X button.

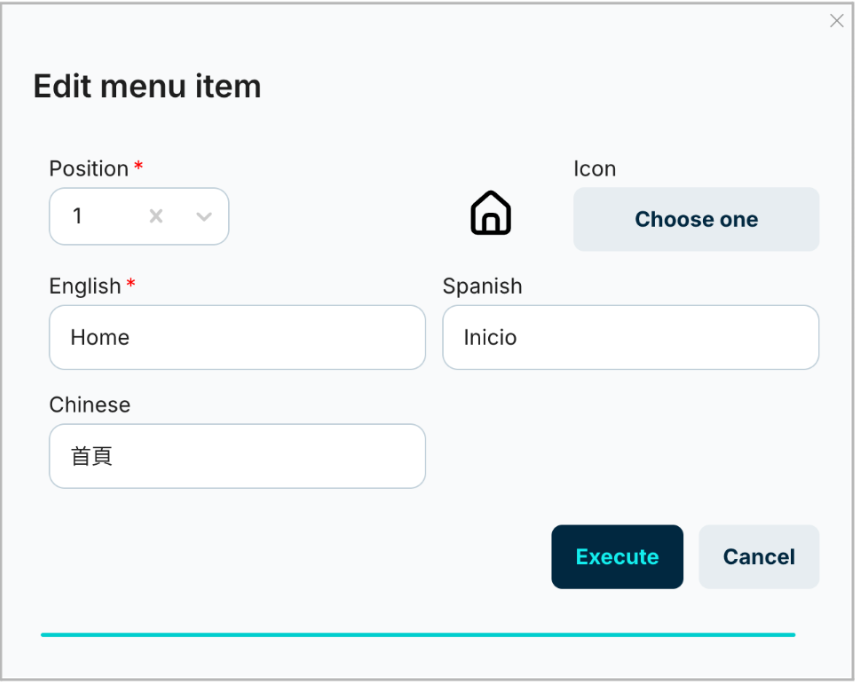
If you select “Edit” a window will appear and you can change any of the fields associated with that menu item, including the position, the icon, the name of the app, etc.

Hit “Execute” and, if everything goes smoothly, you’ll see the following message:

As mentioned above, selecting the X button will delete that app from your menu.

Once removed, you should see the following message:

You may now go to your WEB or APP solution and see that your changes are live.
Updated 11 months ago
