My Apps
When you enter the platform, you will arrive at this section, with a list of apps that have been developed by you and added to the platform.
The first time you log in, you will find this section empty with a text in the middle of the screen explaining how to get started.
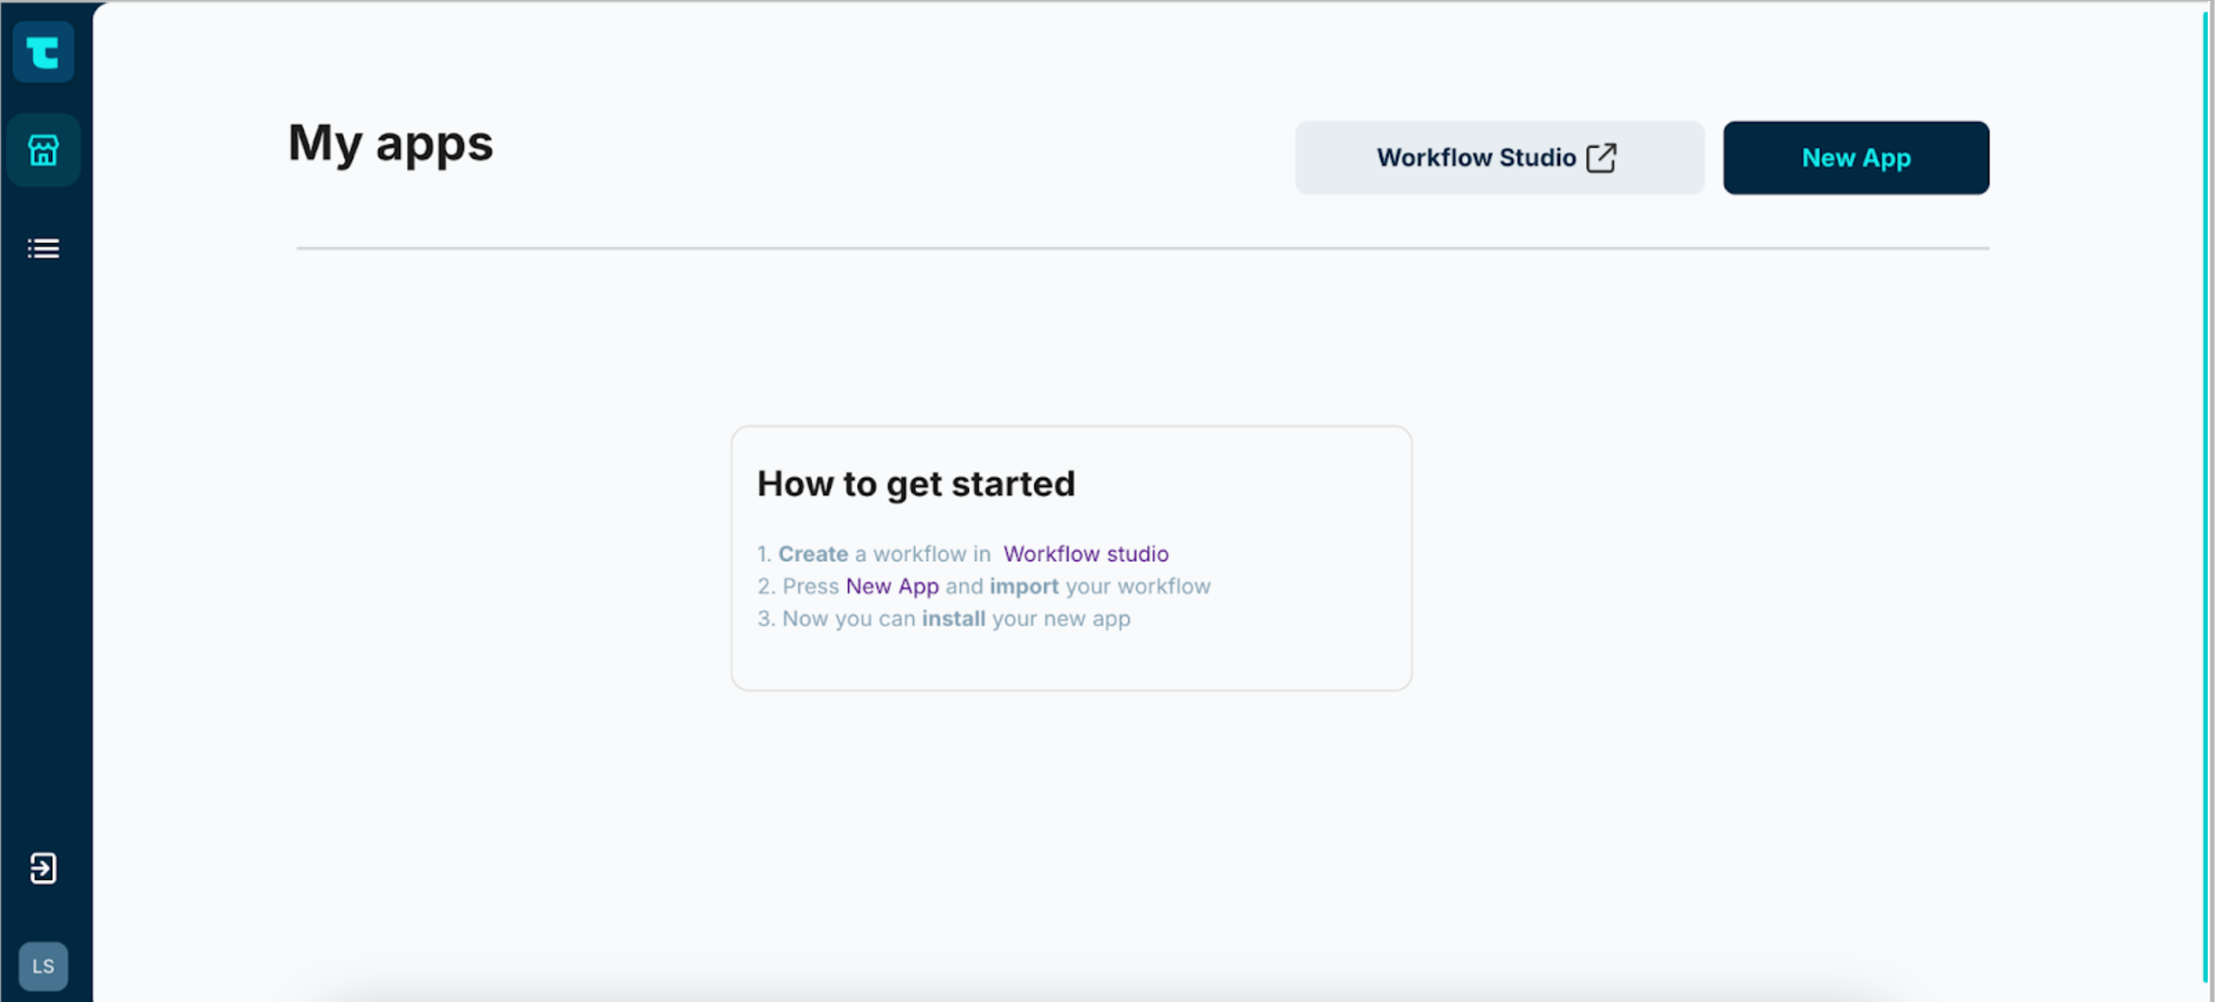
In order to have apps here, you need to start adding solutions by:
- Developing an app using our Workflow Studio (button up top) if it is the first time you are going to develop something on Toqio.
- Selecting New App (button up top) if you have already developed something in our Workflow Studio and you want to import it.
Creating a new app
In order to add an app you’ve previously developed to the Toqio Workflow Studio so you can use it in your solution, follow these steps:
- Select “New App” on the top right of the interface. That will start the app creation process.
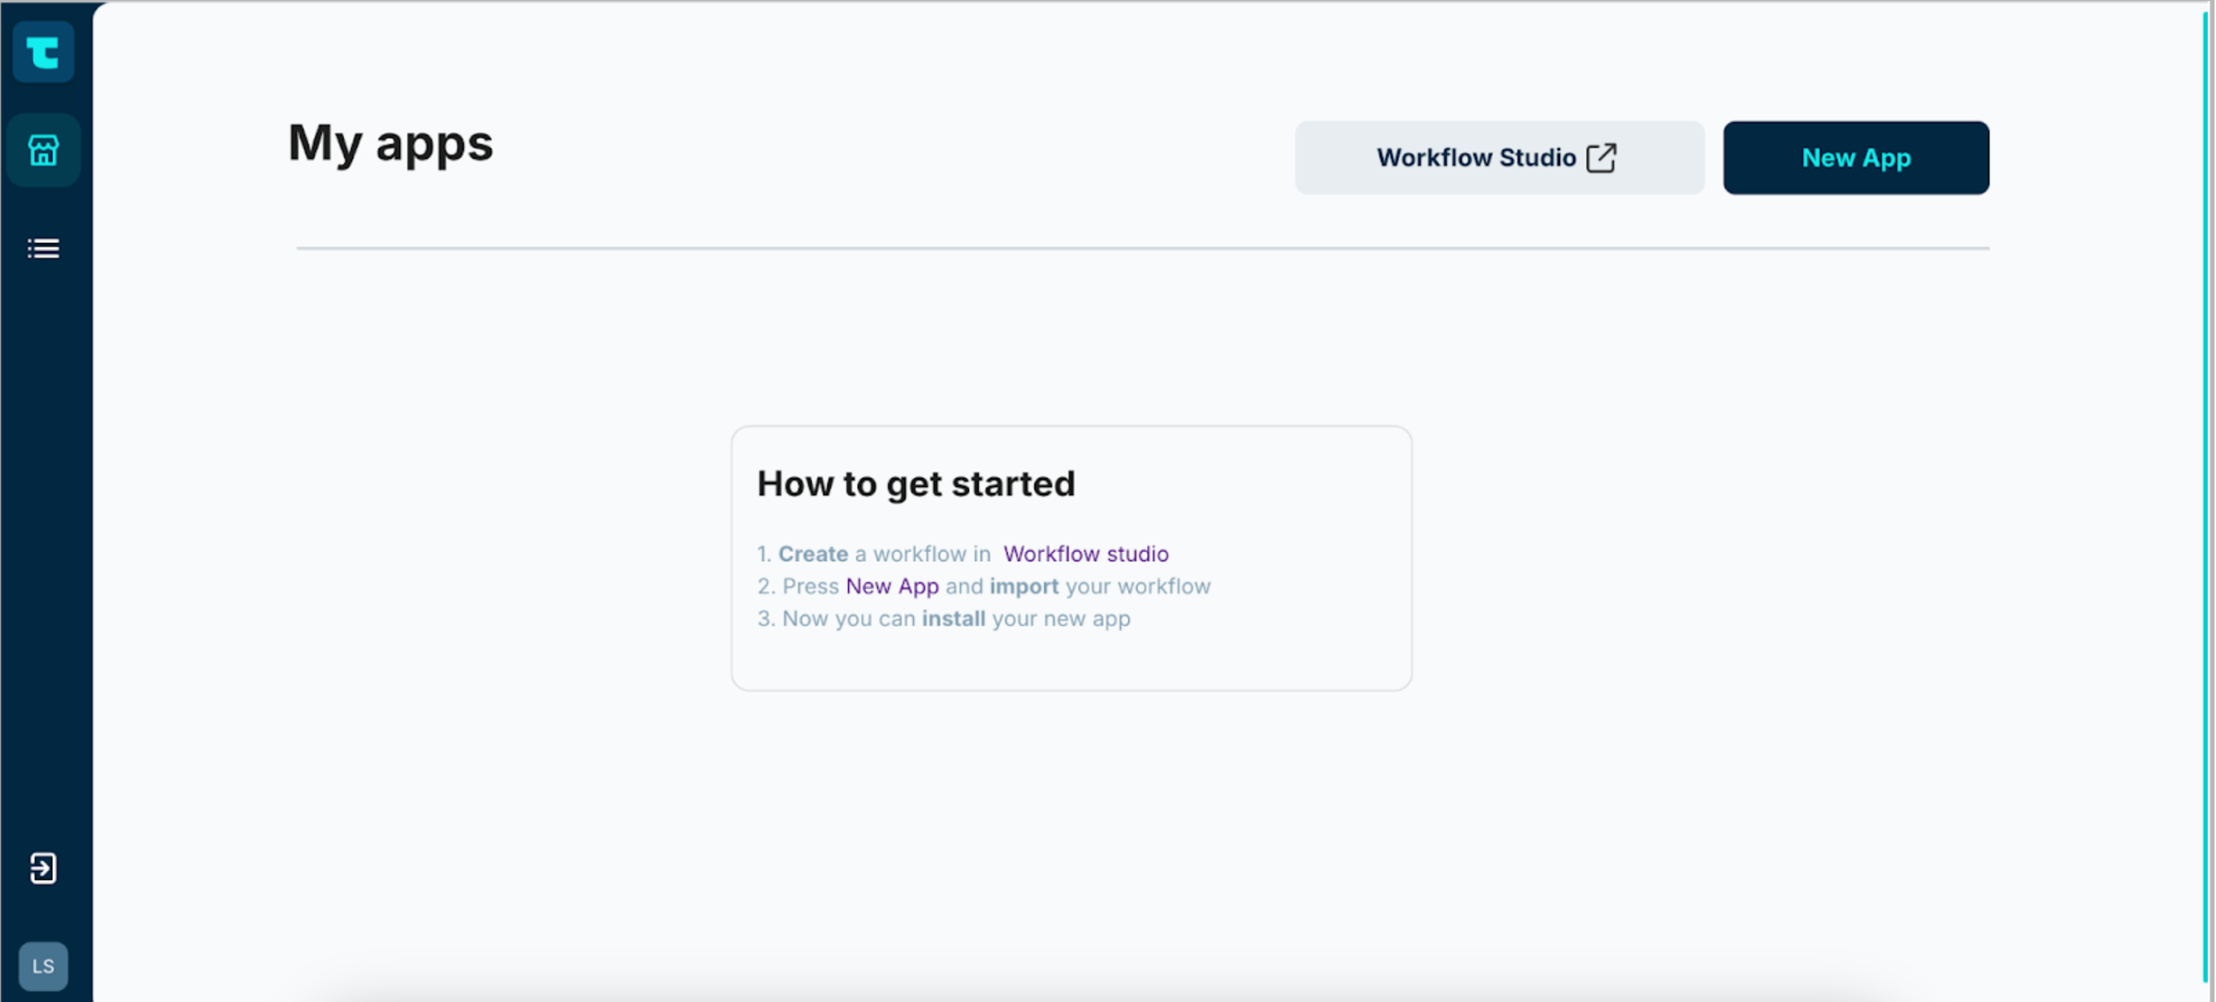
- Details
Add some key details for the app you would like to add, including:
a) Name
Give your app whatever name you like. We recommend making it sensible and part of a standard nomenclature, to keep things clear.
b) Description
We also recommend that you add a short app description summarizing what your app does.
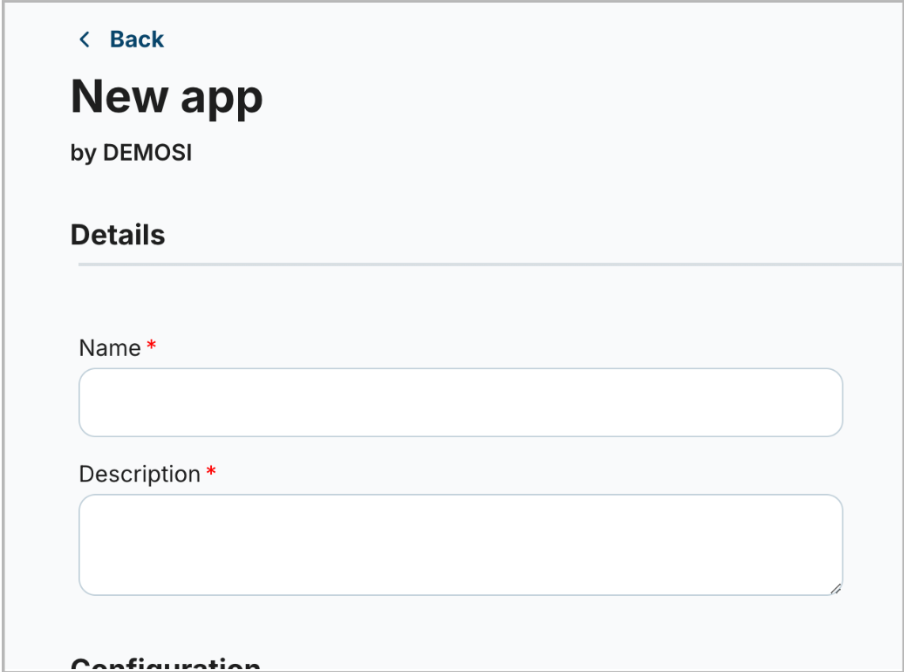
- Configuration
a) Workflow
Here you’ll need to select the app you want to bring in from our Workflow Studio. You’ll encounter a pulldown with all the solutions that you have previously developed and published.
b) Visibility
Apps can either be Public, which means they are visible to all users (such as a “Terms and Conditions” page) or they can be marked as Private, which are limited to authenticated users (such as an “Accounts” page, which would require logging in).
- Page type
The app can be displayed in one of two ways:

a) New page
The app will appear as a new app in the left menu or by accessing its unique URL, depending on the navigation option selected.
b) Replace existing page
You can replace an app that you already have in your solution. Select the page you want to replace: this is how you can swap out existing user journeys for bespoke customer requirements while still getting them to fit in your solution. You cannot replace a menu app. If you need to do that, you’ll have to add your app as a new page and edit your menu using the Menu Manager. You’ll get a pulldown with all your available options related to the app you are trying to add.
- Navigation
Enter a value for the URL slug leading to the app that you are about to add. You can only use letters, numbers, or hyphens and it must be unique.

- Availability
Select where you want to include this app and to whom it will be available.
a) Platforms
From the pulldown, select whether you want to have this app available as a web portal, in an app, or both.
b) Roles (only for private apps)
If you have selected a private app, a pulldown with roles will appear. Select the roles to which you want to give access to the app. Default roles include director, manager, accountant, and employee. You can multi-select as many as you require.
c) Compliance (only for private apps)
You need to define when this app will be available to users. You have three options.
If your app will only be available after a know-your-client (KYC) process, it means that you will have already run that process and that your banking partner will have accepted the compliance information.
- When you have finished filling out all the relevant details, you can select “Submit”.
Once you have developed apps and added them, you will be able to see all of them in the “My Apps” interface, including the name of the app, its creator, and a snippet of the description you entered. Apps that have been installed will also clearly be labeled as such.
Managing your apps
Installing an app
When you have added an app to the platform, select its card on the “My Apps” screen and then select the box to the right of the name of the app that says “Install App”.

A pop-up will appear summarizing where you are going to install it (as a web portal, as an app, or both) and you only need to select “Execute” to install.
If you don’t wish to proceed, you can select “Cancel”.
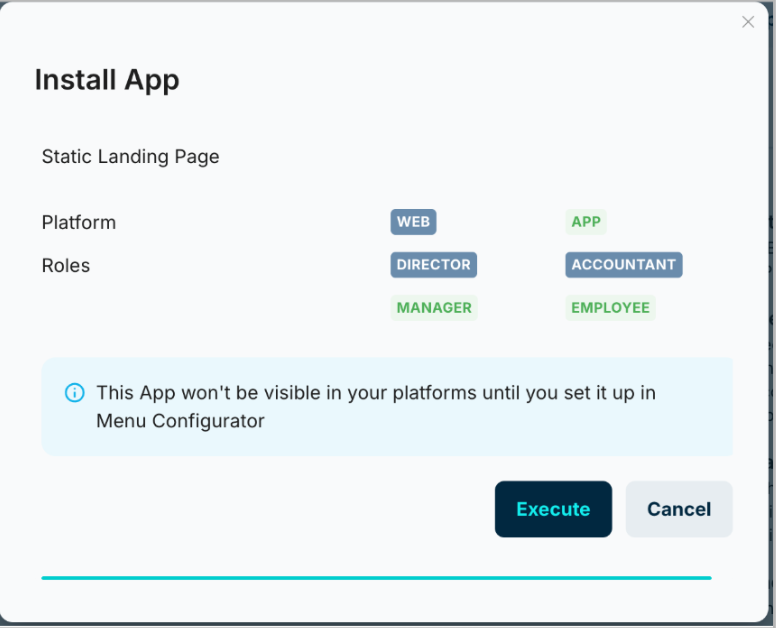
After installing the app here, if you want this app to appear in your solution, you’ll need to add it as a menu option using the “Menu Manager”.
Deleting an app
Prior to deleting an app, you need to check that it is not installed. If so, you’ll need to uninstall it first. You cannot delete an app that has not been uninstalled.
You have two ways to delete an app:
- Use the kebab menu
On the “My Apps” screen, each app has its own card and each card features a kebab menu on the top right (the three vertical dots). Selecting the dots will open up a contextual menu where the second option is “Delete app”.

- Use the button on the app description
If you have selected the app and are on its description page, up top you’ll find three buttons. The middle one is “Delete app”.
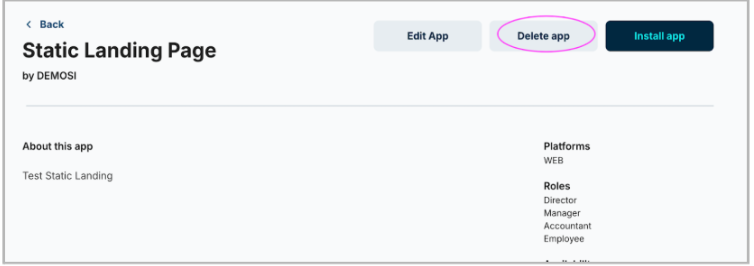
By selecting “Delete app”, the platform will ask you if you're sure you want to delete it as a final security check. Select “Execute” to delete the app or “Cancel” if you’ve changed your mind.
Editing an app
If you have apps that have already been added and installed, you have two ways you can edit app details.
a) Use the kebab menu
On the “My Apps” screen, each app has its own card and each card features a kebab menu on the top right (the three vertical dots). Selecting the dots will open up a contextual menu where the first option is “Edit app”.

b) Use the button on the app description
If you have selected the app and are on its description page, up top you’ll find the “Edit app” button.
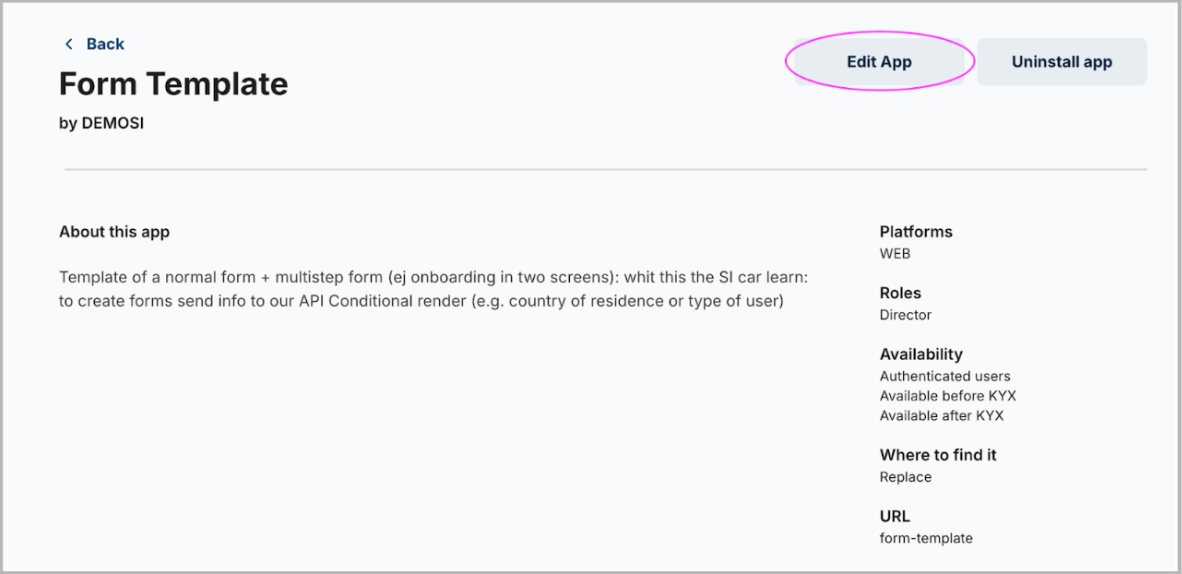
In either case, when you select “Edit App” you’ll be taken back to the same interface you used when you created the app, where you can change details as required.
For what you can edit and details on fields, please refer to the section above entitled “Creating a new app”.
Once you have made all your required changes, select the “Apply changes” button. You should receive a message letting you know your changes have been saved:

Updated 6 months ago
